

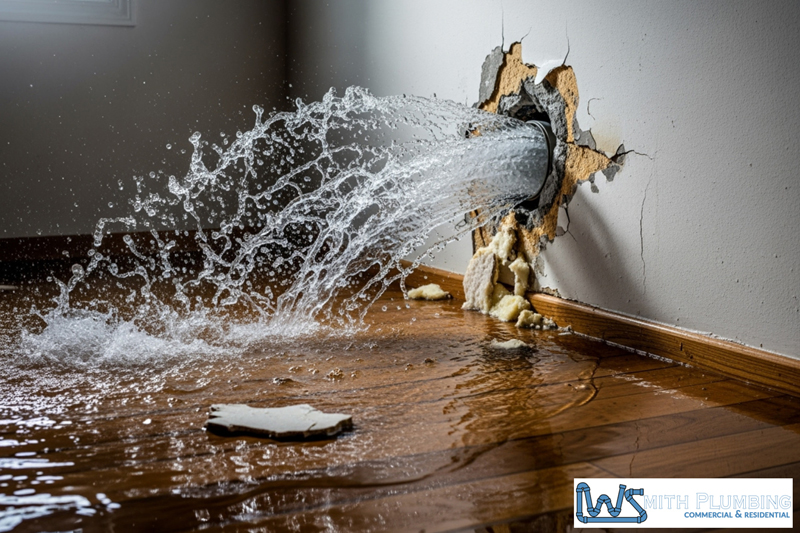
Water damage is one of the most stressful things a homeowner can face. Whether it’s a burst pipe, a failed water heater, or flooding from one of the heavy summer storms in St. Augustine, FL the hours and days that follow can feel overwhelming. Knowing what to do — and in what order — can mean the difference between a manageable repair and a costly, drawn-out disaster.
This checklist walks you through every major step of the recovery process so you can protect your home, your belongings, and your peace of mind.
Step 1: Shut Off the Water and Power
If the flooding is caused by a plumbing failure, your first move is to shut off the main water supply. The shutoff valve is typically located near the water meter, either outside your home or in a utility area. If you’re not sure where yours is, now is a good time to find out — before an emergency happens.
Next, if there is any standing water near electrical outlets, panels, or appliances, shut off power to the affected areas at your breaker box. Do not wade through standing water with the power on. If you’re unsure whether it’s safe, stay out and call a professional.
Step 2: Call a Licensed Plumber Immediately
Don’t wait to assess the source of the problem on your own. A licensed plumber can quickly identify whether you’re dealing with a broken supply line, a sewer backup, a failing appliance connection, or something more serious like a slab leak. The faster the source is addressed, the less water infiltrates your walls, flooring, and foundation.
In St. Augustine, response time matters. Florida’s humidity means mold can begin developing within 24 to 48 hours of water exposure. Getting a plumber on-site the same day is not an overreaction — it’s the right call.
Step 3: Document Everything Before You Touch It
Before you move a single piece of furniture or pull up any flooring, take photos and video of the damage from every angle. This documentation is critical for your homeowner’s insurance claim. Capture the water source, the affected rooms, standing water levels, and any visible damage to walls, baseboards, cabinets, and personal belongings.
Call your insurance company as soon as the documentation is complete. Most policies require prompt notification, and delays can complicate your claim.
Step 4: Extract Standing Water and Begin Drying
Once it’s safe to enter the affected area, begin removing standing water as quickly as possible. Wet/dry vacuums, sump pumps, and water extraction equipment can all help. Many homeowners in this situation also bring in a water mitigation company to handle extraction and industrial drying simultaneously with the plumbing repair.
Open windows and doors if outdoor humidity allows. Run fans and dehumidifiers continuously. In Florida’s climate, you cannot over-dry a water-damaged space.
Step 5: Move Belongings Out — and Into Safe Storage
This step is where many homeowners lose significant time and money by improvising. Furniture, electronics, clothing, documents, and sentimental items need to be moved out of the affected area quickly — but they also need somewhere safe and dry to go.
Stacking belongings in a garage or spare bedroom may seem like a solution, but it often leads to secondary damage, especially during a repair process that can stretch days or weeks. Climate-controlled storage units in St. Augustine, FL offer a practical answer. Keeping your belongings in a clean, dry, temperature-regulated unit protects them from humidity and gives contractors clear access to every part of your home that needs repair — which actually speeds up the overall job.
This is especially important during major plumbing work like repiping, slab leak repair, or full bathroom restorations, where walls may be opened and rooms may be completely out of commission for an extended period.
Step 6: Address Mold Risk Proactively
In Northeast Florida, mold is not a distant risk — it is an immediate one. Any porous material that has been saturated for more than 24 to 48 hours should be evaluated for removal. This includes drywall, insulation, carpet padding, and wood subfloor material.
Do not simply dry out visibly wet materials and assume the job is done. Mold can grow inside walls and under flooring without any visible sign on the surface. A licensed mold remediation professional can test affected areas and advise on what needs to go and what can be saved.
Your plumber and your remediation team should be coordinating closely during this phase to avoid redundant demolition or missed areas.
Step 7: Repair, Restore, and Reinspect
Once the source of the water damage has been repaired and the affected areas are fully dry and remediated, the restoration work begins. Depending on the severity, this can involve drywall replacement, flooring installation, cabinet rebuilding, fixture reinstallation, and repainting.
Before any walls are closed back up, ask your plumber to do a final inspection of all repaired lines and connections. This is also a good time to ask about upgrades — replacing aging supply lines, adding a whole-home water shutoff, or installing a leak detection device that can alert you the moment a problem starts.
Step 8: Review and Strengthen Your Preparedness
After going through a water damage event, most homeowners make at least a few changes to reduce their risk going forward. Common improvements include:
- Scheduling annual plumbing inspections
- Replacing rubber washing machine hoses with braided stainless steel
- Installing a water heater drain pan with an alarm
- Knowing the location of every shutoff valve in the home
St. Augustine’s older housing stock and coastal weather patterns make proactive plumbing maintenance more than a convenience — it’s a smart investment in your home’s long-term value.


